Welcome to our groundbreaking blog post, where we embark on a journey through the dynamic landscape of innovation, efficiency, and seamless automation. In today’s digital era, businesses are constantly seeking robust solutions to elevate their operations, and in this exploration, we present a lineup of powerful products and components that redefine the realm of possibilities.
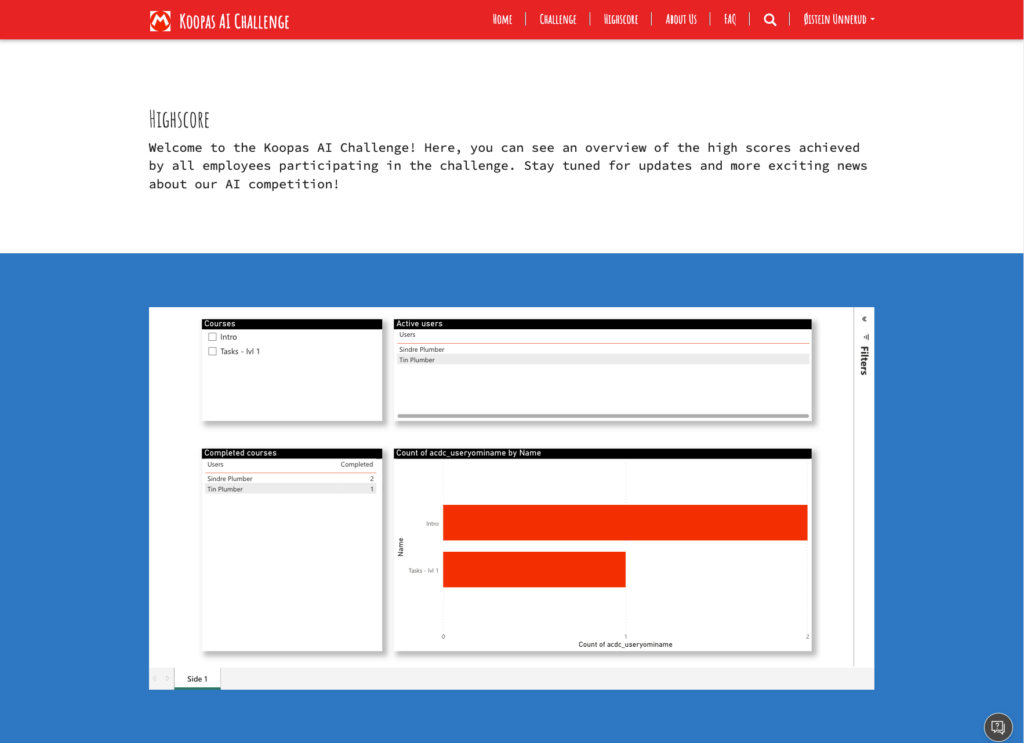
At the forefront of this technological evolution is the “Power Page,” a hub of capabilities designed to enhance user experiences and drive operational excellence. Join us as we delve into the intricacies of the Copilot Studio Chat Bot, seamlessly integrated with the prowess of Power Automate flows. This powerful duo promises to revolutionize communication channels and automate tasks, streamlining workflows with unparalleled ease. We have also integrated Power BI visualizations for showing player progress and overviews.
Behind the scenes, we delve into the backbone of our system – the Dataverse. This robust backend storage solution effortlessly manages progression course levels and active user data, providing a foundation for scalability and adaptability. Witness the synergy between technology and data management as we navigate through the capabilities of Dataverse.
But that’s not all. Enter the PCF Component, specifically Koopa’s AI Challenge, a cutting-edge addition that brings artificial intelligence to the forefront of your applications. Explore the possibilities as we unravel the potential of this innovative component in enhancing user interactions and engagement.
Last but certainly not least, our journey wouldn’t be complete without a glimpse into actionable insights provided by Power BI Reports. Transform your data into visual narratives, gain meaningful insights, and make informed decisions to drive your business forward.
Together, these products and components form a formidable alliance, promising a holistic and transformative approach to your digital endeavors. Join us as we navigate through the intricacies of each element, paving the way for a future where efficiency and innovation coexist harmoniously. Welcome to the era of empowered possibilities – welcome to the Power Page Chronicles.
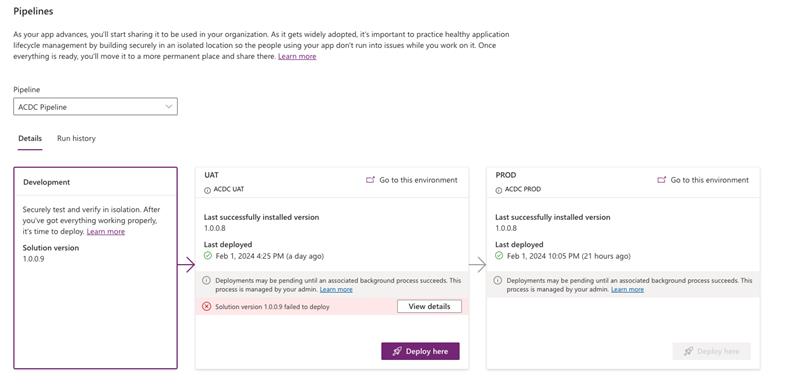
ALM – Deployment
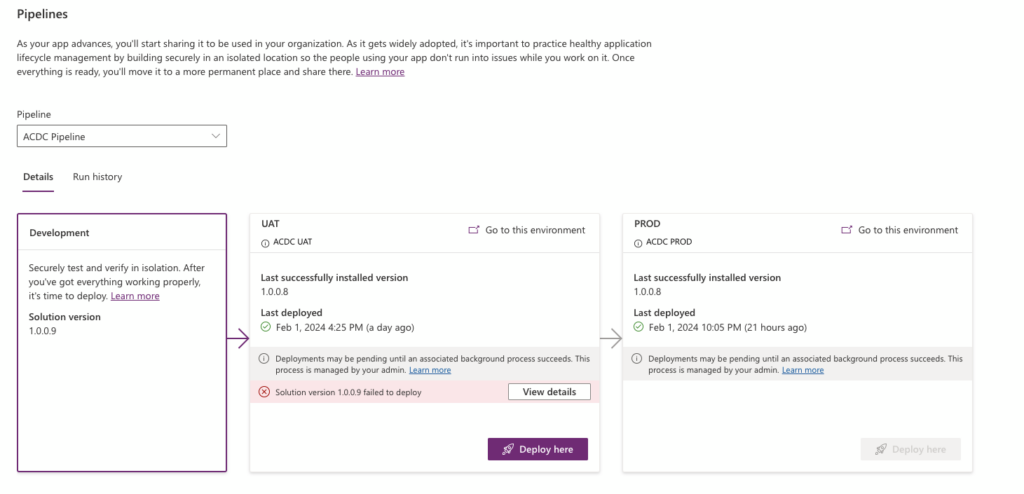
We have created tree environements for development, testing and production purposes. We have automated the deployment process with ALM – pipeline.
Imagine you’ve developed a robust solution in your Dev environment, and now it’s time to move it to UAT and eventually to Prod. However, you want to ensure that changes don’t go live without proper scrutiny. That’s where an approval process comes into play.
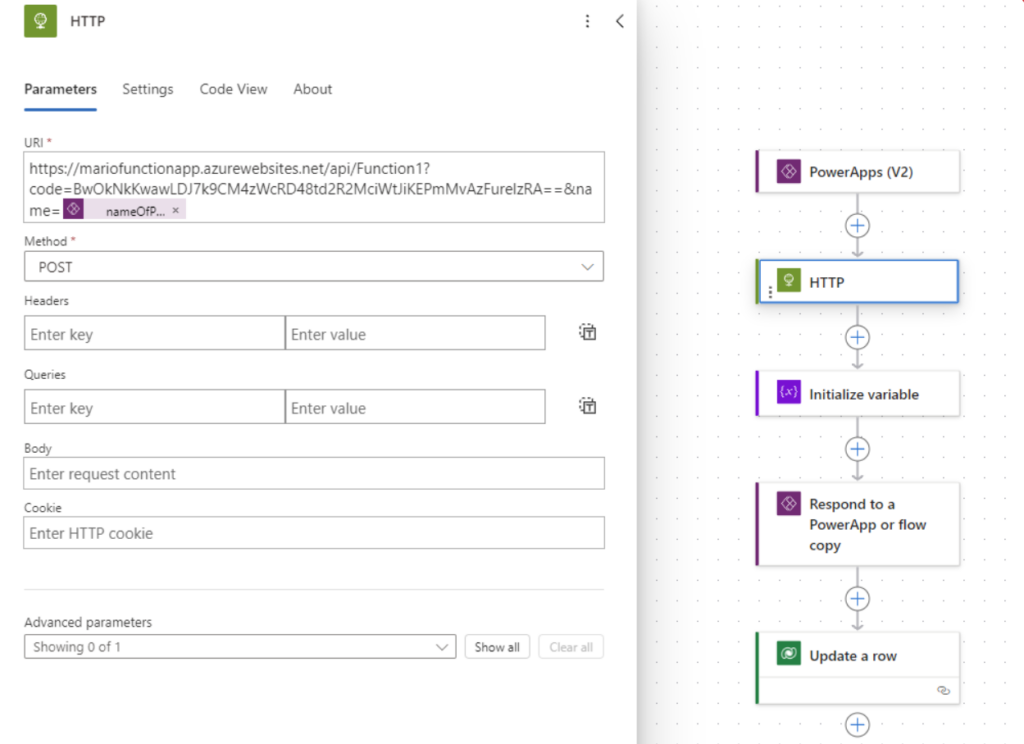
Power Automate
Power Automate allows you to create automated workflows that connect different services and applications. We’ll leverage Power Automate to trigger the approval process when a user requests a solution deployment.
Microsoft Teams
Microsoft Teams provides a collaborative workspace for your organization. We’ll use Teams to notify an admin group about pending solution deployments and allow them to approve or reject the changes.
Setting Up the Approval Workflow
Let’s break down the steps:
1. User Requests Deployment
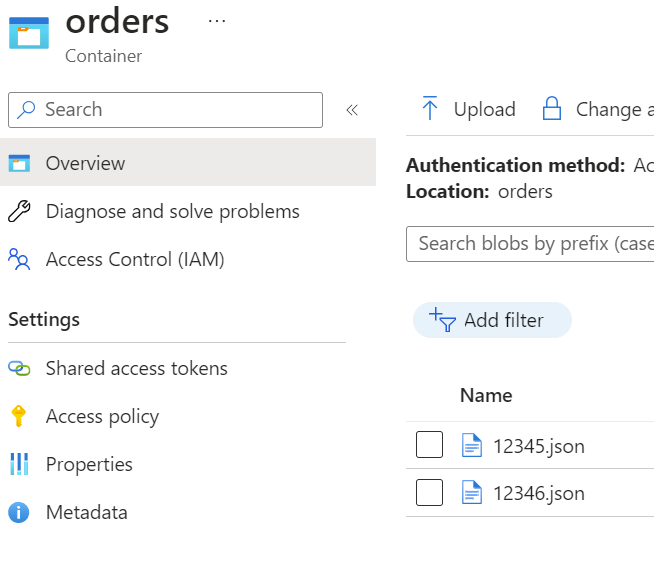
- A developer completes the solution in the Dev environment.
- When ready for deployment, they initiate the process by requesting it through a designated channel.
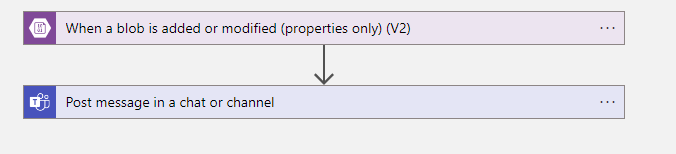
2. Power Automate Workflow
- Create a Power Automate flow triggered by the user’s deployment request. Sends an adaptive card to admin group in Microsoft Teams
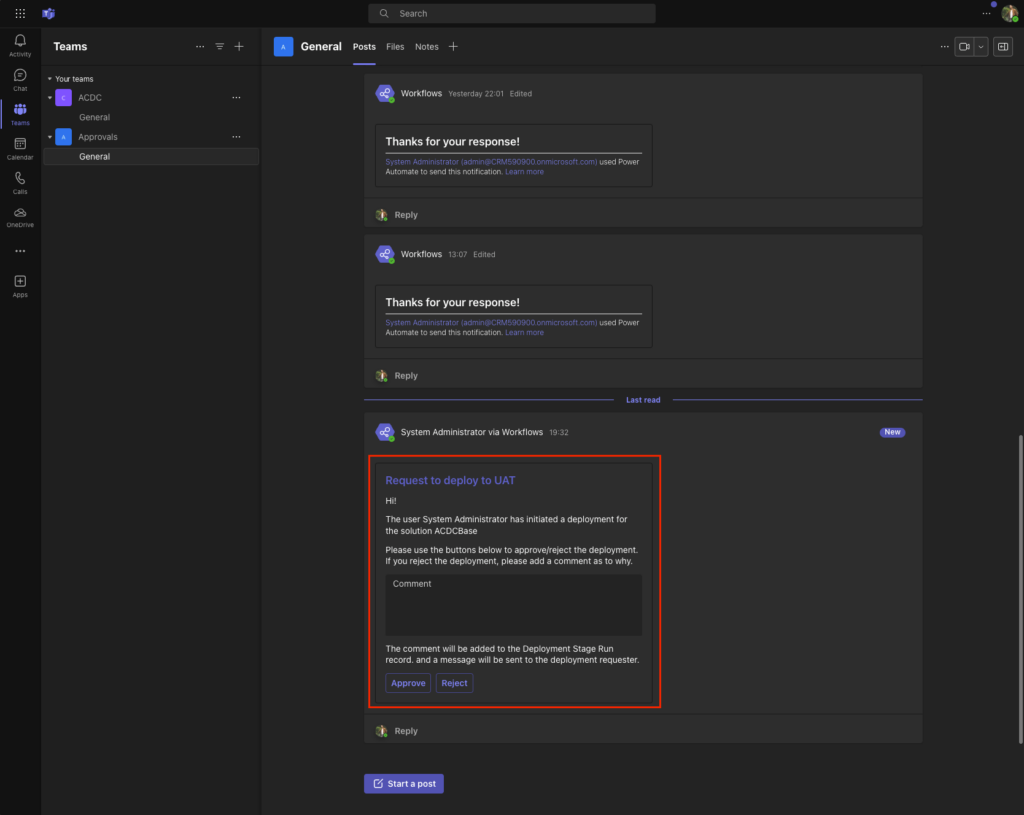
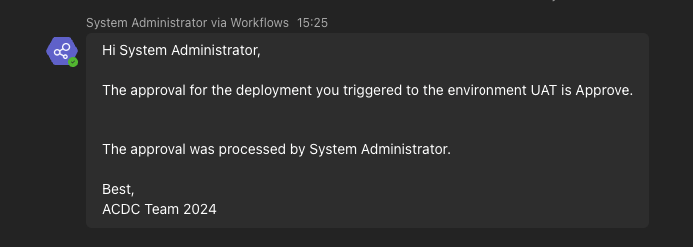
3. Approval in Microsoft Teams
- The adaptive card is sent to an admin group in Teams.
- Admins receive a notification and can review the deployment details.
- They can either click approve or reject after review is done.
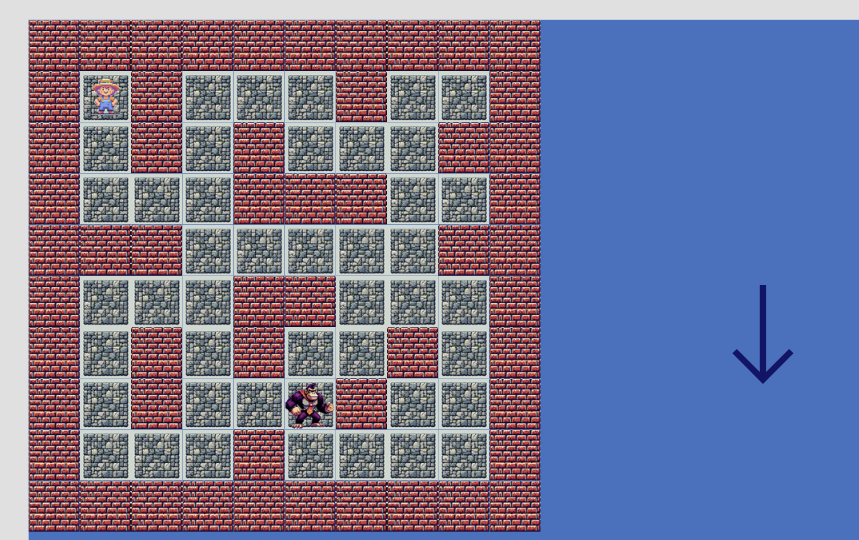
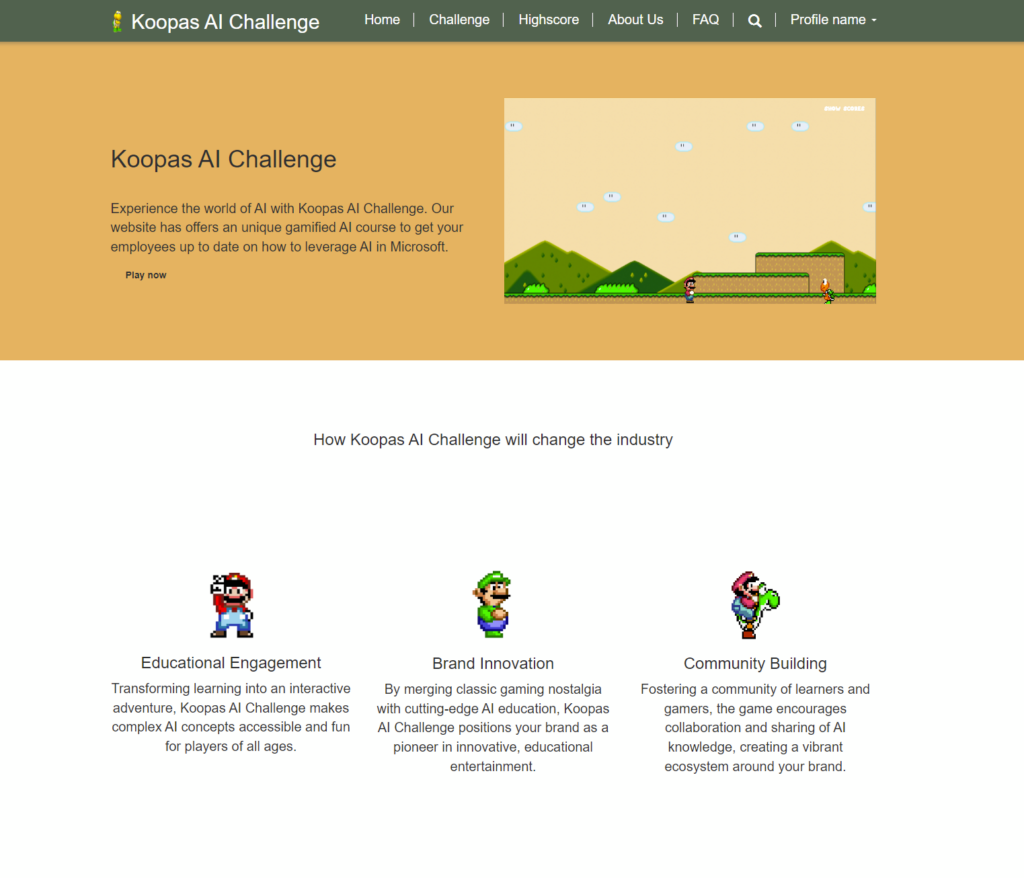
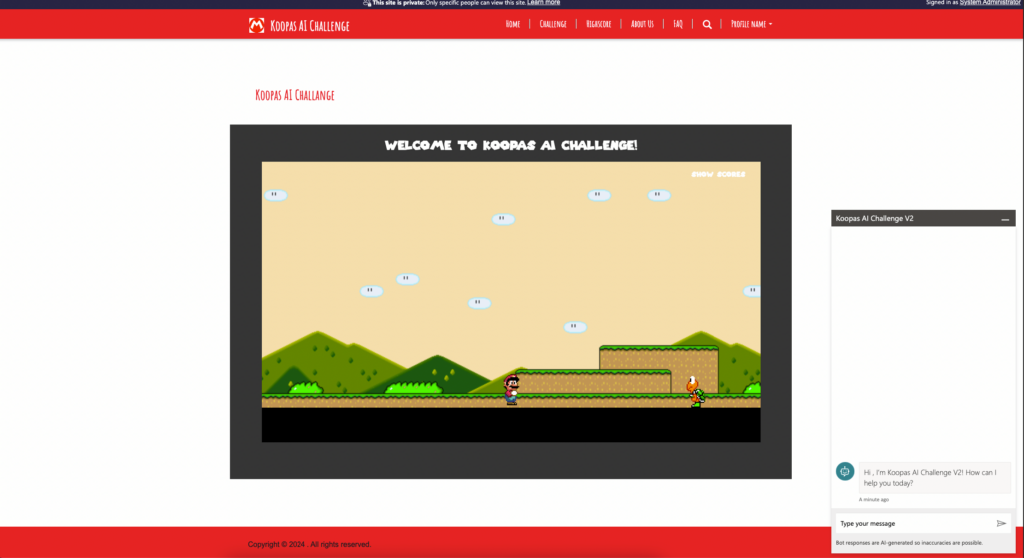
Following the introduction of our foundational technologies and their impact on business operations, we now turn our attention to the heart of our digital innovation: the game component, ingeniously embedded within our Power Page. This game, dubbed “Koopa’s AI Challenge,” is not just a testament to our creative prowess but a strategic tool designed to engage, educate, and entertain users in a uniquely interactive environment.
The Genesis of Koopa’s AI Challenge
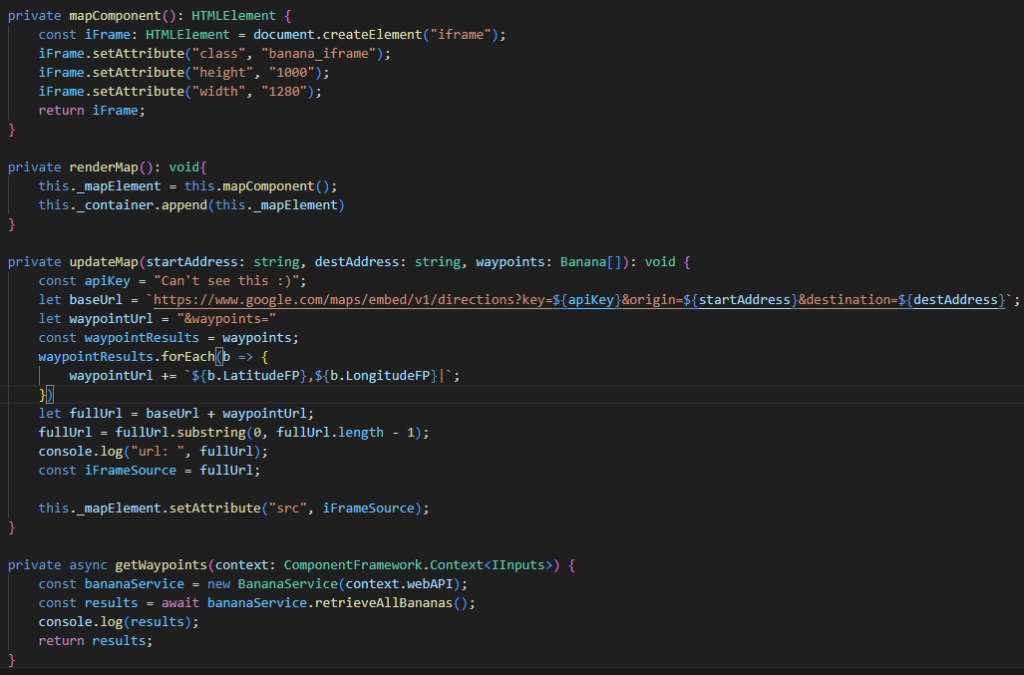
At its core, “Koopa’s AI Challenge” leverages the dynamic capabilities of Phaser 3 for game mechanics, married seamlessly with the sophistication of React and TypeScript (TSX) for development. This blend of technologies allows us to present a game that is not only visually appealing but deeply integrated with the educational and interactive objectives of our PCF comopnent.
Integration into Power Page
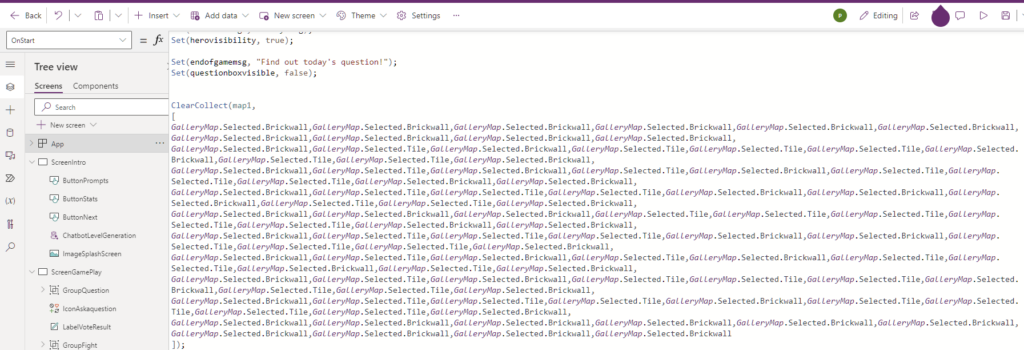
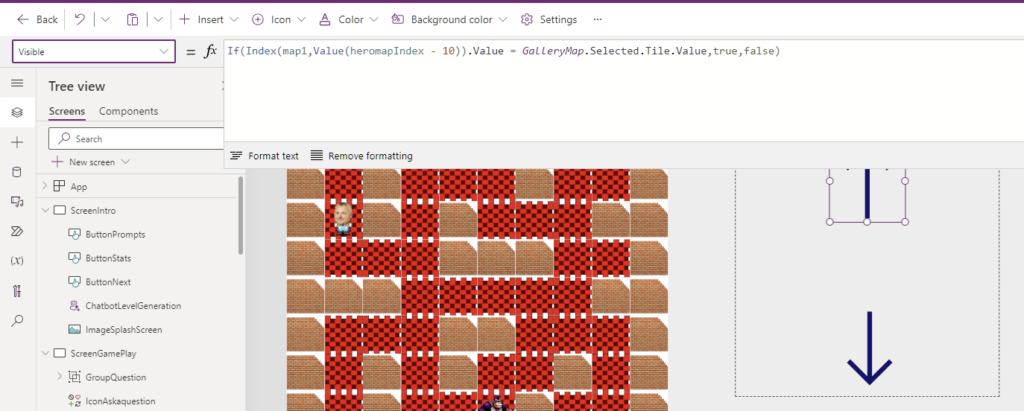
The integration of the game within the Power Page is a feat of technical ingenuity. By embedding the PCF (Power Apps Component Framework) control, we ensure that the game is not an isolated experience but a cohesive part of the user’s journey on our site. This approach allows for a seamless transition between learning modules and interactive gameplay, enhancing the overall user experience and engagement.
Leveraging Phaser 3 for Game Mechanics
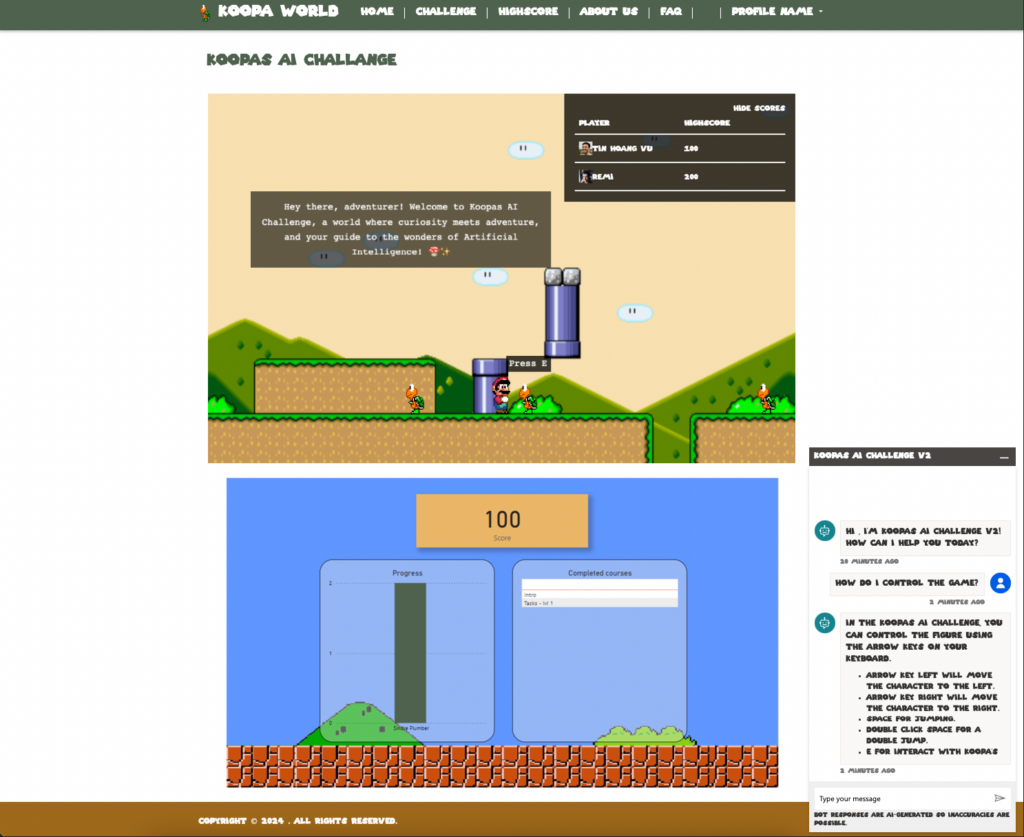
Phaser 3 stands at the forefront of our game development, providing a robust framework for creating immersive 2D gaming experiences. Its extensive suite of tools and features enables us to craft complex game mechanics, such as character movement, obstacle navigation, and interactive challenges that users must navigate through. This results in a game that is not only fun to play but also challenges the user’s problem-solving skills and application of knowledge acquired through the platform.
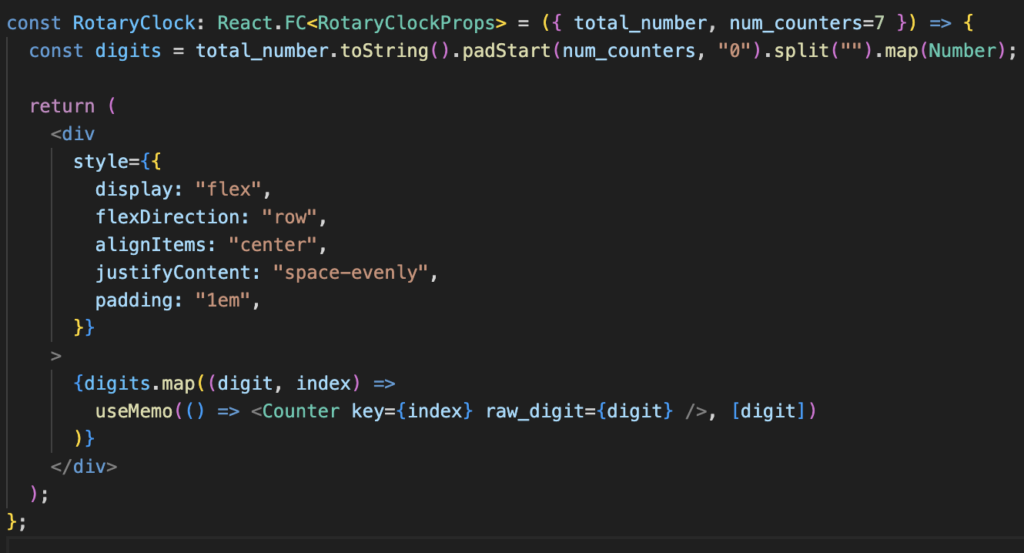
React and TypeScript: A Powerful Duo
The use of React and TypeScript for developing the game’s interface and logic ensures a highly responsive and intuitive user experience. React’s component-based architecture allows for efficient updates and rendering, making the game fluid and engaging. TypeScript, with its strong typing, enhances code quality and reliability, ensuring that the game mechanics are robust and error-free.
The Educational Twist
What sets “Koopa’s AI Challenge” apart is its educational underpinning. Each level of the game corresponds to a course or module within the platform, challenging users to apply what they’ve learned in a practical, engaging context. This gamification of learning not only reinforces knowledge retention but also adds an element of fun to the educational journey.
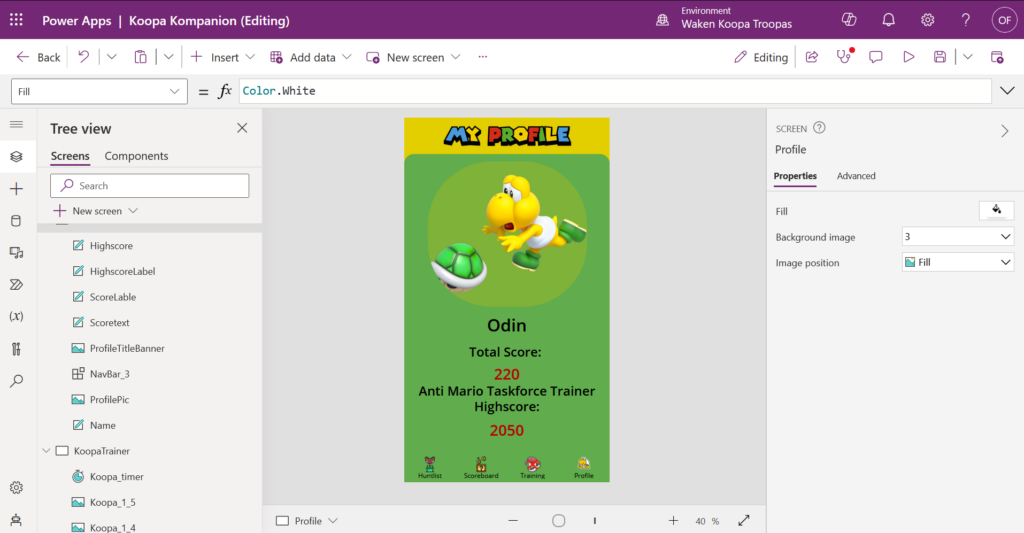
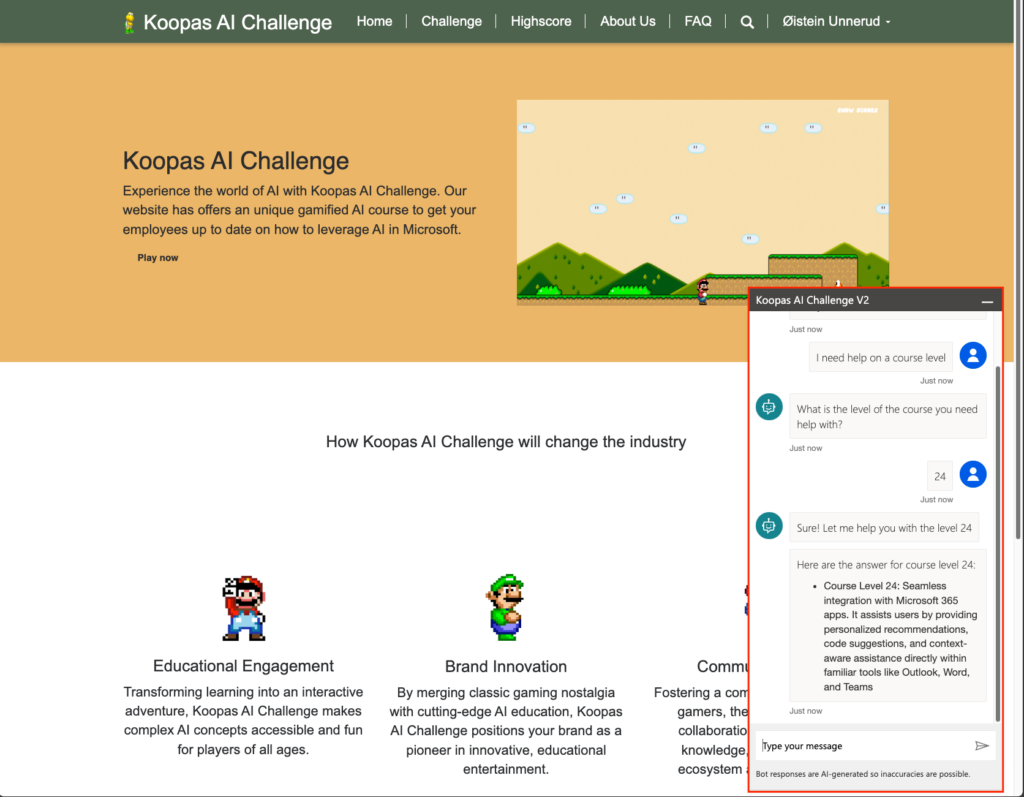
Integrating seamlessly within our Power Page, we leverage Power BI to vividly display user progress through dynamic, interactive reports. This integration ensures that users can visually track their achievements and milestones, enhancing motivation and engagement. Simultaneously, our solution taps into the Dataverse API to fetch course content, ensuring that each user’s journey through the courses is smooth, personalized, and up-to-date. Complementing these features, our site hosts a Copilot Chatbot, a virtual assistant ready to offer users guidance, answer queries, and provide support for course-related challenges. This trio of features—Power BI progress visualization, Dataverse content integration, and Copilot Chatbot assistance—synergistically elevates the user experience, making our solution not just a tool, but a comprehensive learning companion.
Conclusion
“Koopa’s AI Challenge” is more than just a game; it’s a bridge between education and entertainment, powered by cutting-edge technology and integrated seamlessly into our Power Page. As users navigate through the levels, they’re not just playing; they’re learning, engaging, and interacting with content in a way that’s both innovative and impactful. This game is a cornerstone of our digital offering, exemplifying our commitment to creating solutions that are not only technologically advanced but also meaningful and user-centric.
As we conclude our exploration of the Power Page Chronicles, “Koopa’s AI Challenge” stands as a beacon of our innovative spirit, showcasing the potential of combining technology, education, and gaming in creating transformative user experiences. Join us on this journey of discovery and empowerment, where each interaction is an opportunity to learn, grow, and be entertained.
Link to demo video: