What is it good that you can have improved customer communication with chatbots and forums, if the plumbers can’t get notified in realtime of relevant cases? Moreover, Mario and Luigi as CEO and CTO respectively want real-time data for improving decision support (e.g. plumber allocation) and PlumbQuest trends for further analysis.
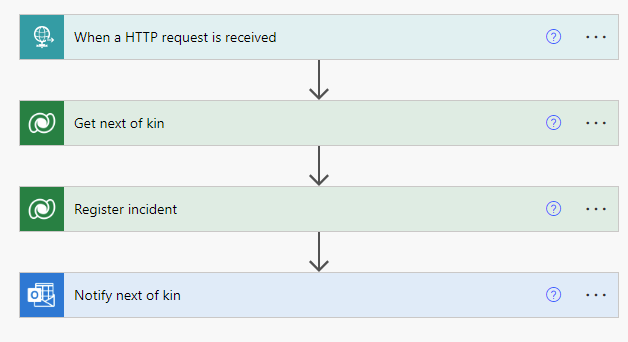
Dataverse Webhook on Incident reports
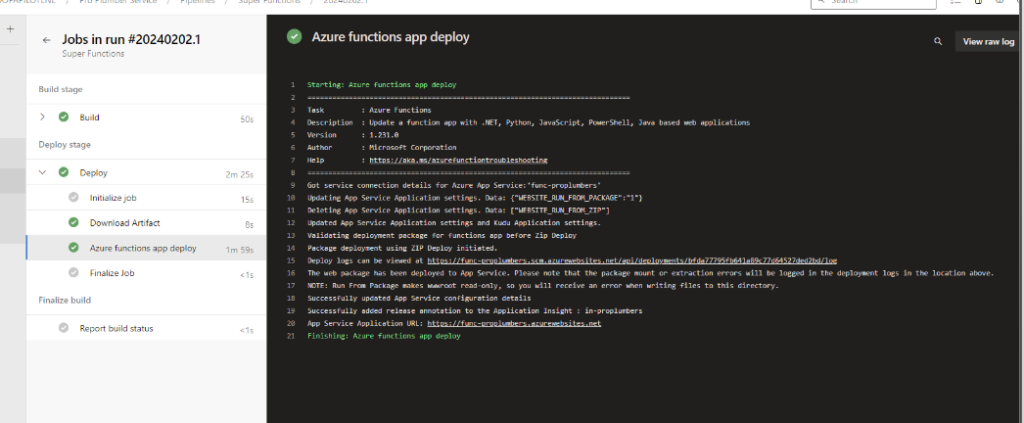
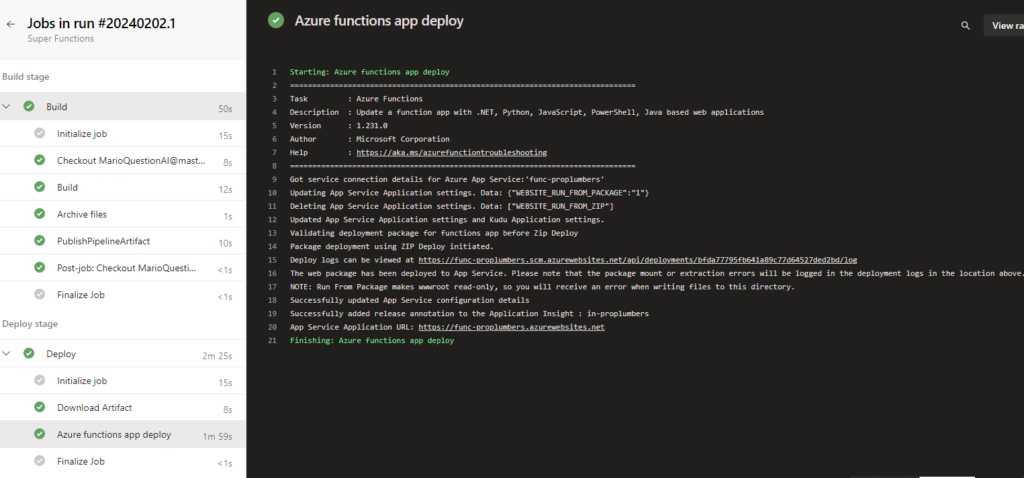
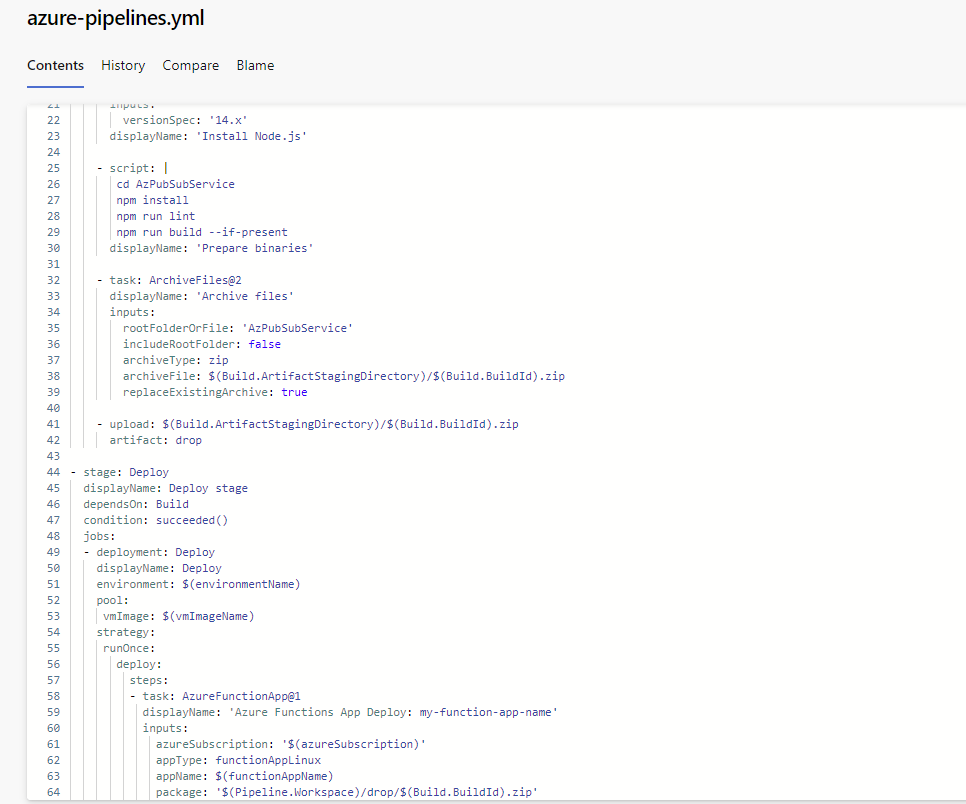
To extract real time data, we created a Web hook using the plugin tool box for Dataverse, which calls our Azure Function whenever a new PlumbQuest is made.
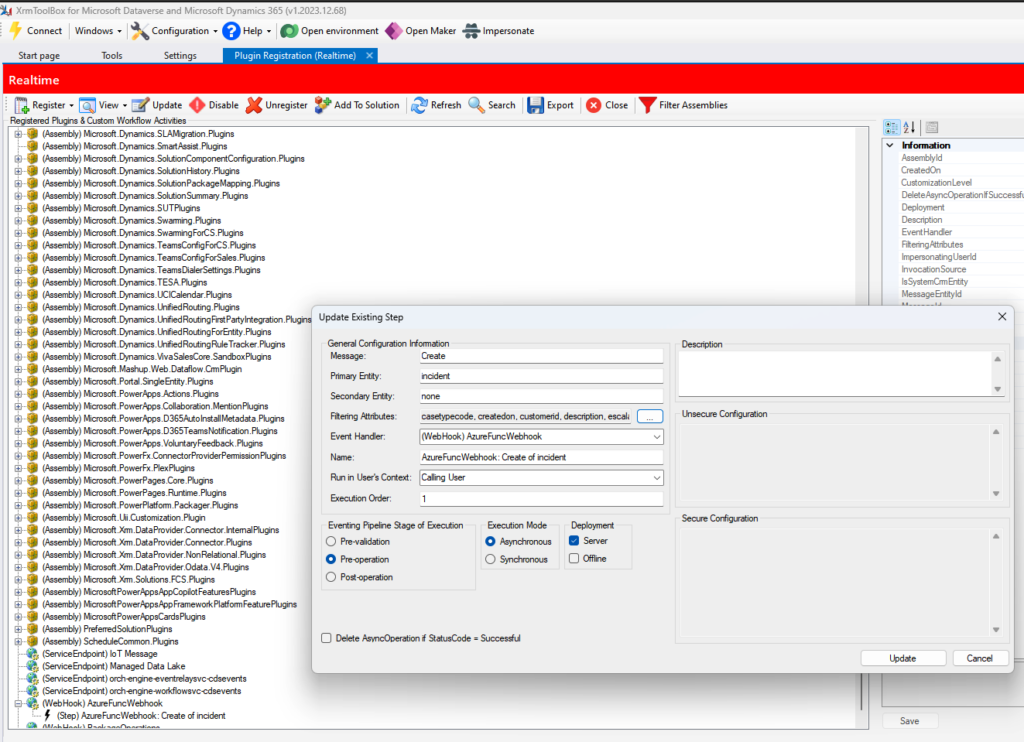
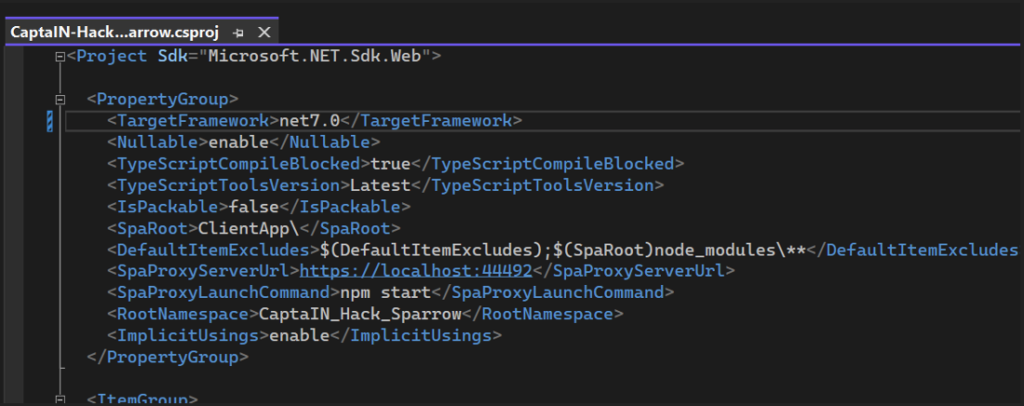
To ensure safe access, function level authentication is applied, where the toolbox allows for HTTP Query parameters, safely accessing our Function which uses a traditional HTTP-trigger:
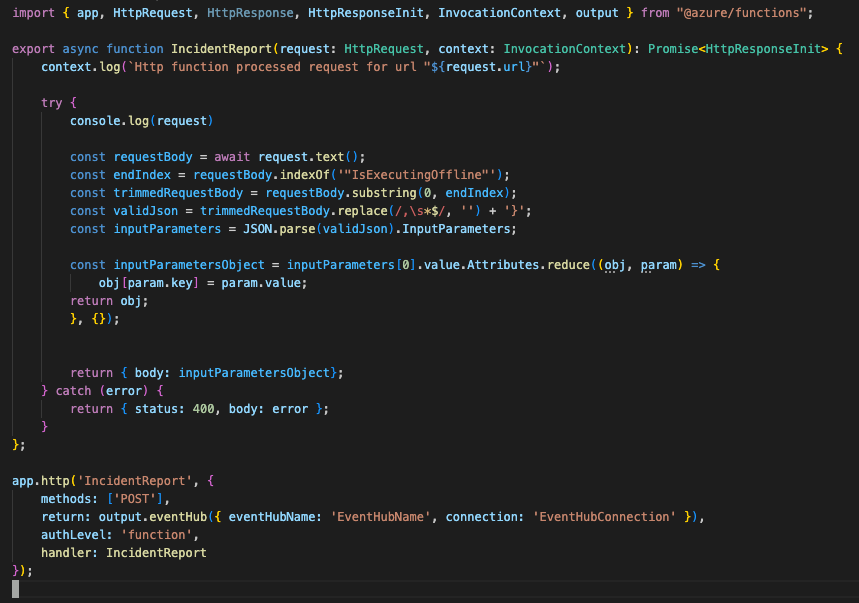
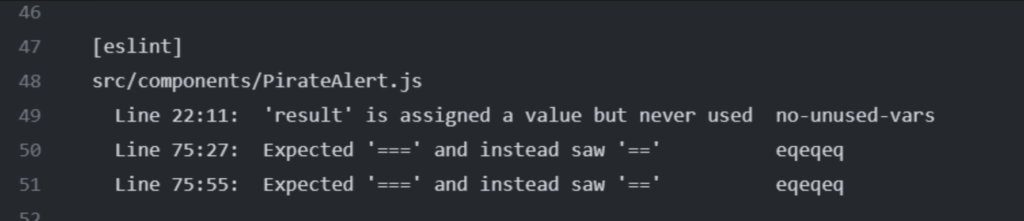
However – Here is the hacky part. The Web hook payload is too large, which makes the traditional JSON-payload corrupted with highly dynamic lengths and content of each PlumbQuest. Therefore we had to do some custom string manipulation to extract the values of most business and de-corrupt the JSON and preparing it for analysis – Almost a Complete ETL-pipeline (*cough*)!
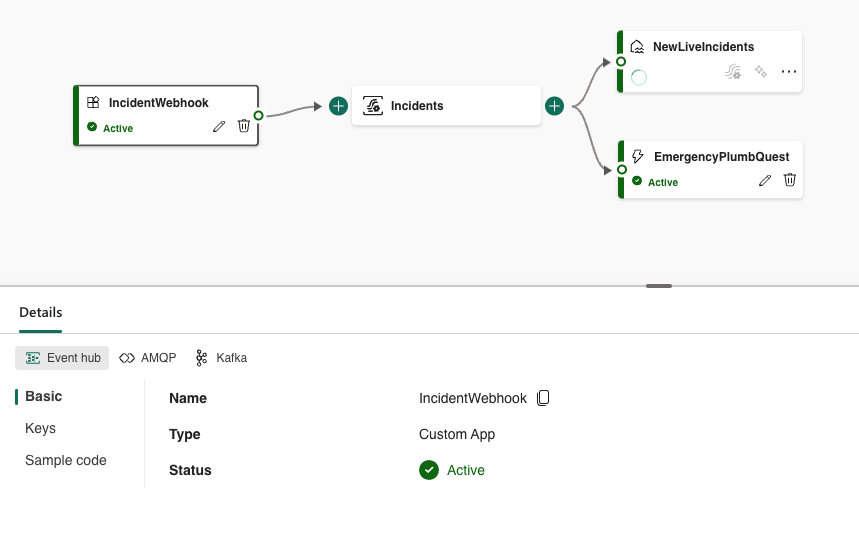
But to access this real-time data in an Analytics environment – Fabric is the way to go (as by Microsoft huge Hype-wave). We created a Custom app Source for an Event Stream in Fabric with an EventHub output binding, which then can map to many different destinations, including a Lakehouse for historisation and trend analysis, as well as Data Factory Reflexes for reactive actions in real-time.
With Data Activator’s Reflexes directly on the stream, one can e.g. trigger additional flows for highly acute PlumbQuest from members in distress, or highlight plumbers who did not provide proper service according to the PlumbQuest review.
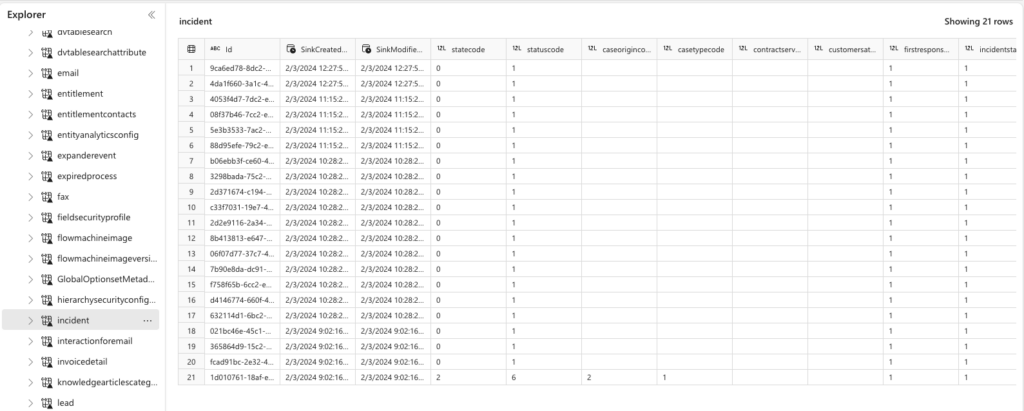
In addition, we set up a Dataverse Shortcut (Link) to Fabric, allowing for direct access to Dataverse without ETL or ingestion, providing ease of access and down-the-line deeper analysis on key business metrics, trends and community engagement.
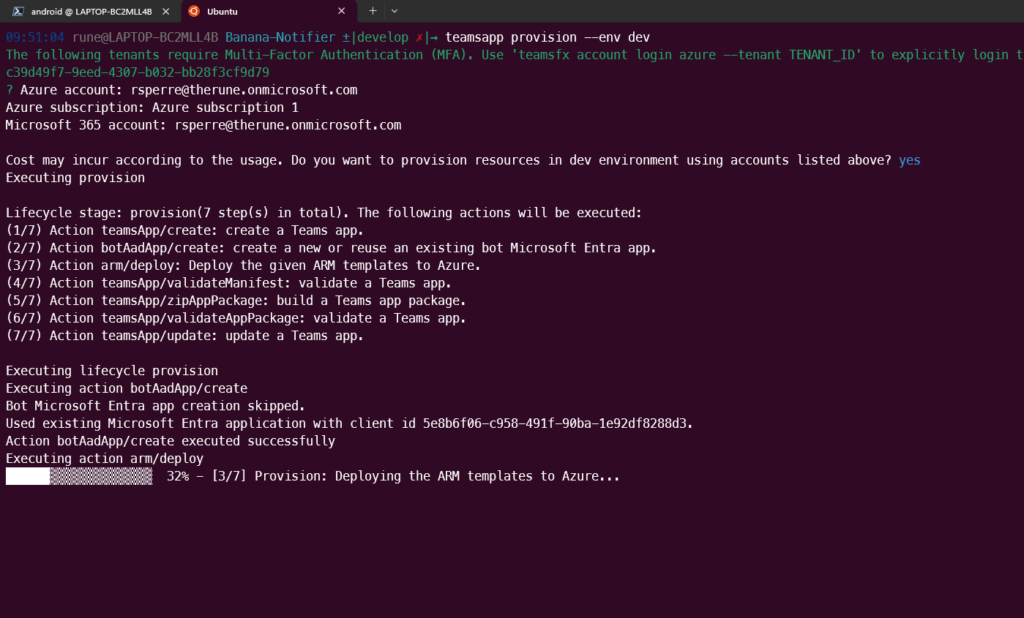
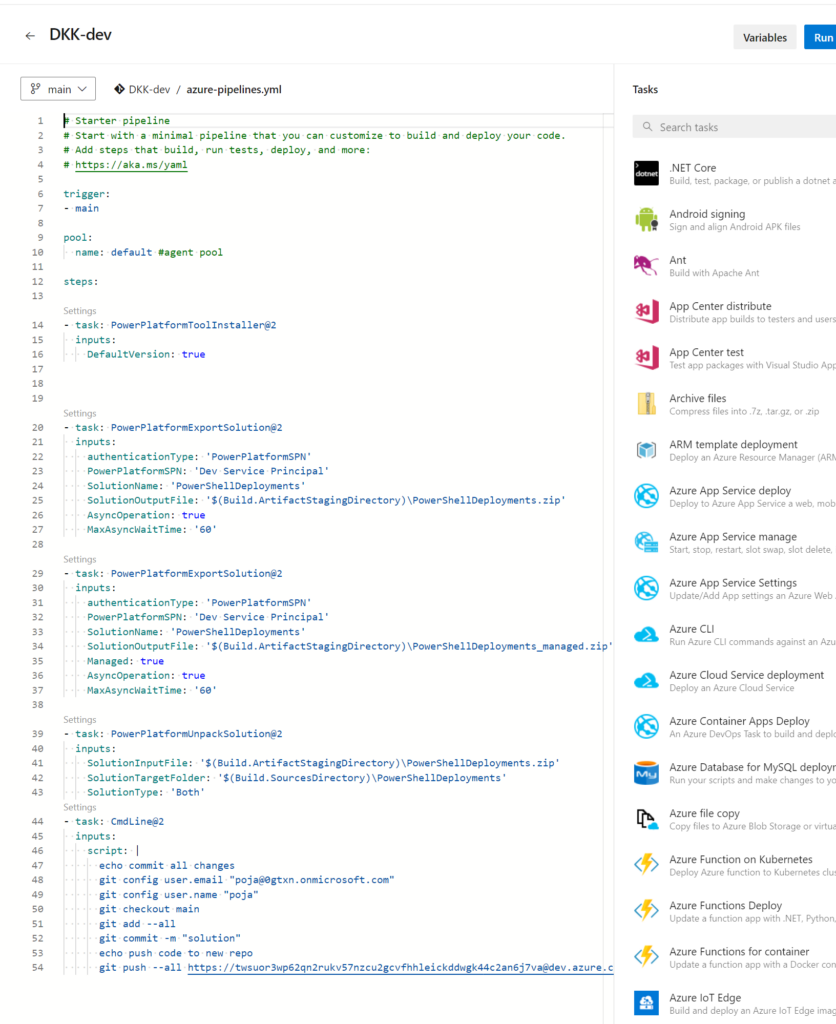
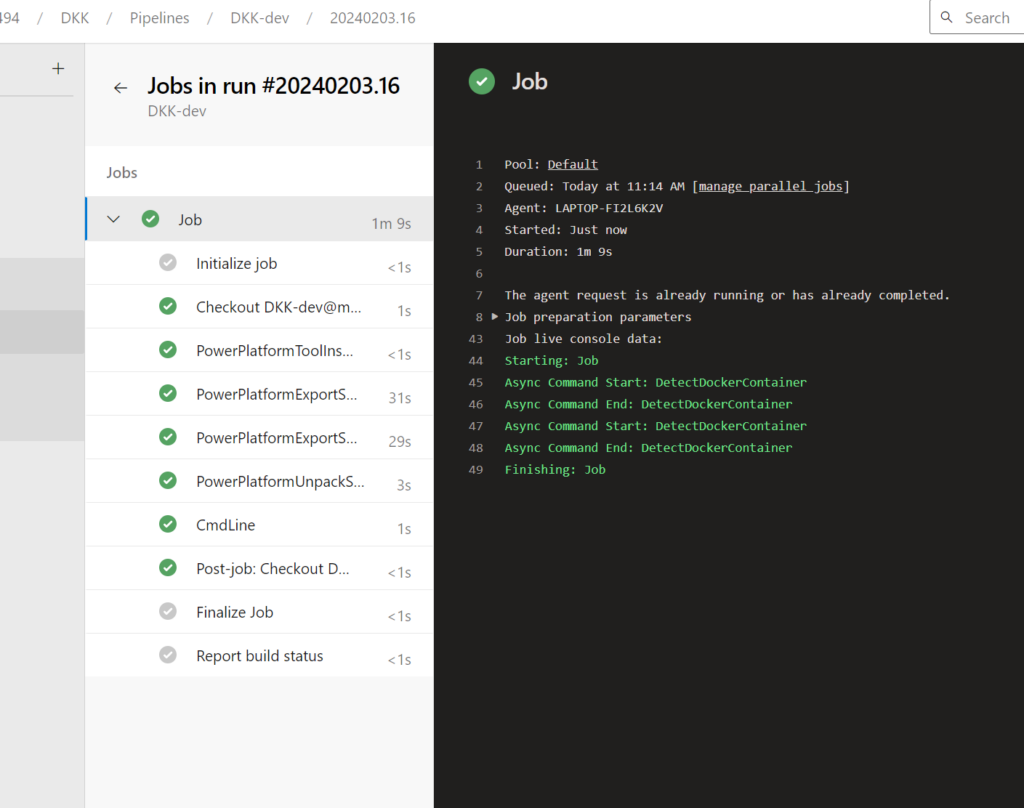
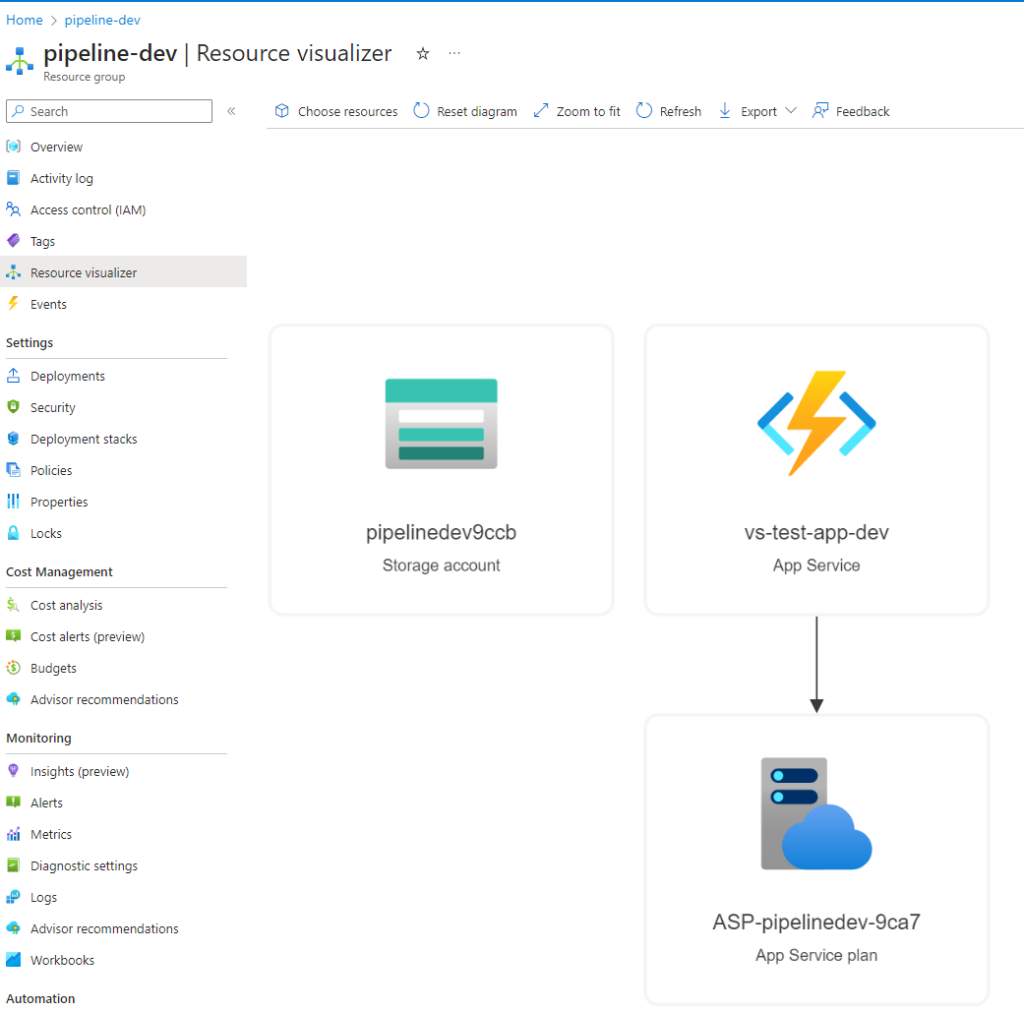
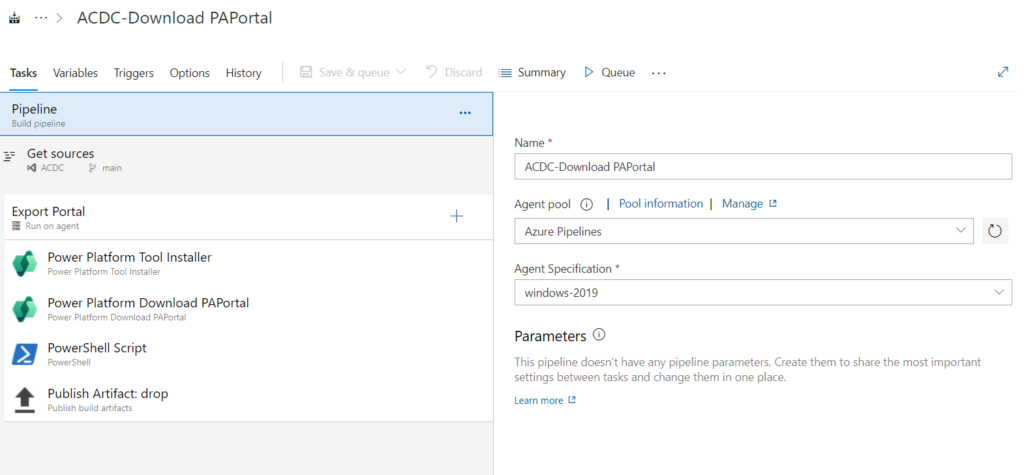
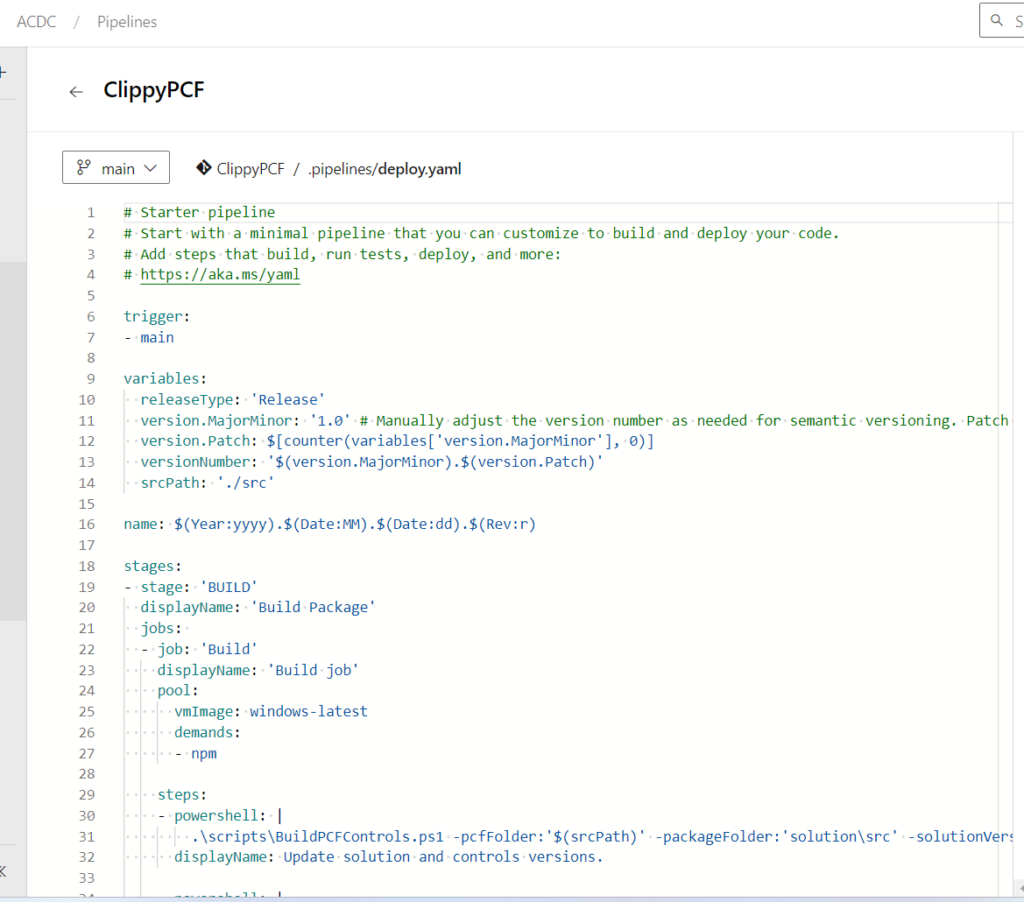
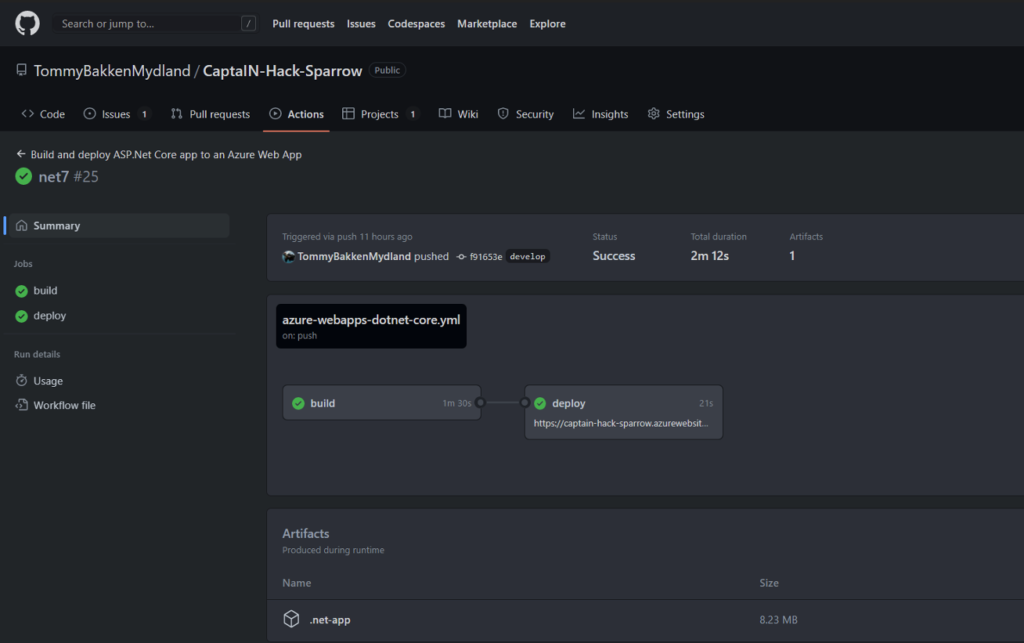
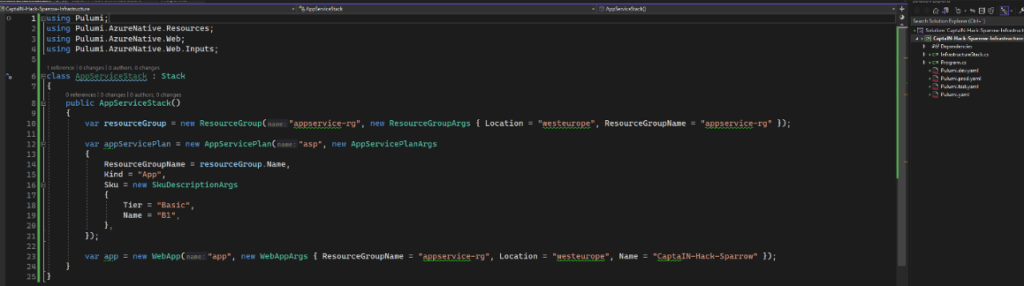
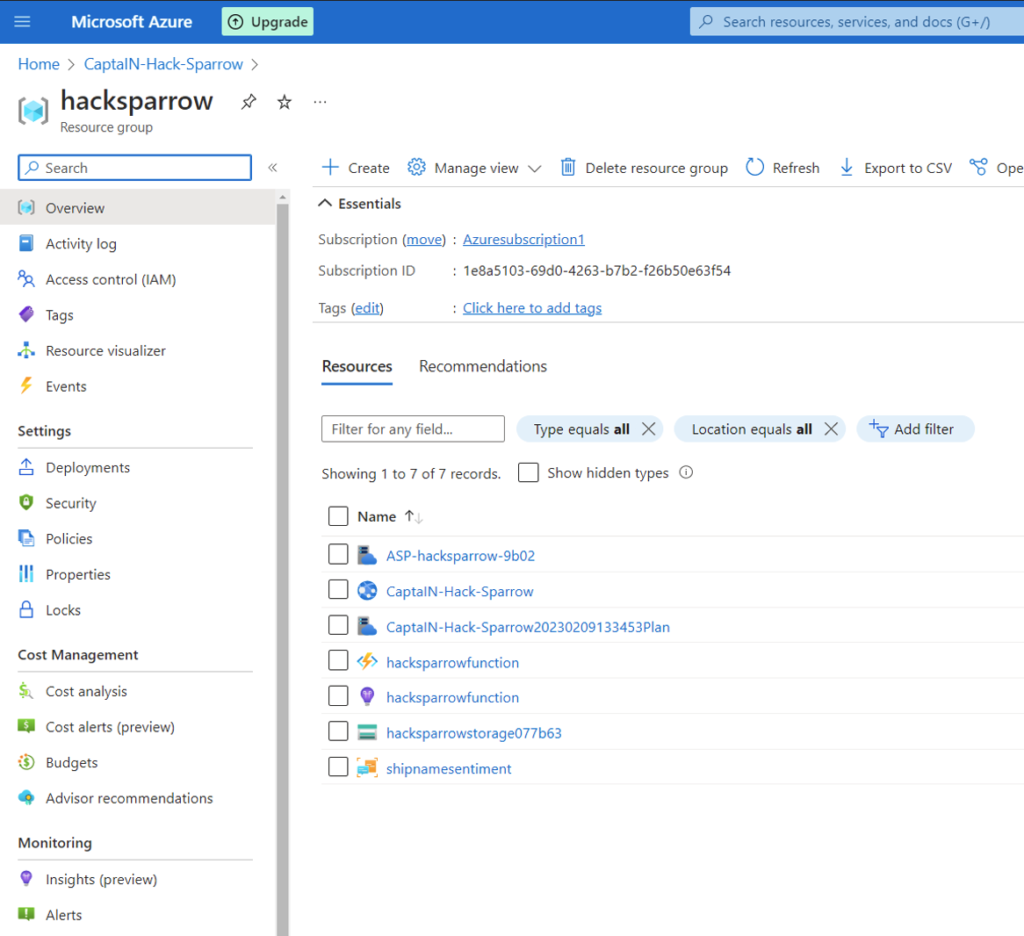
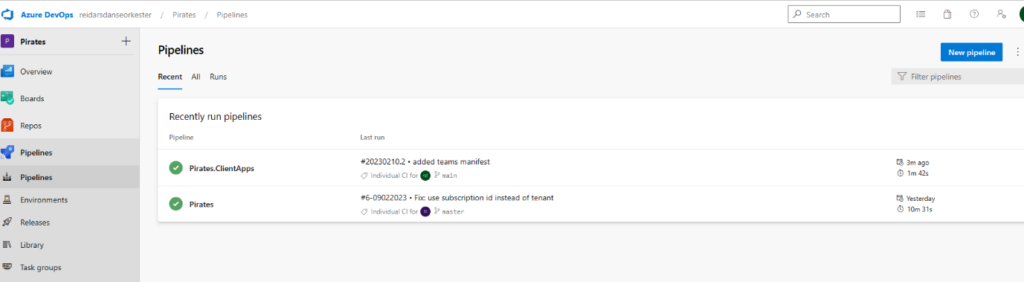
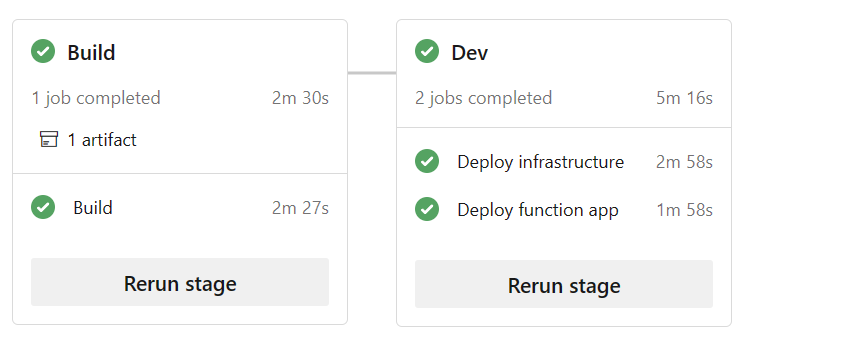
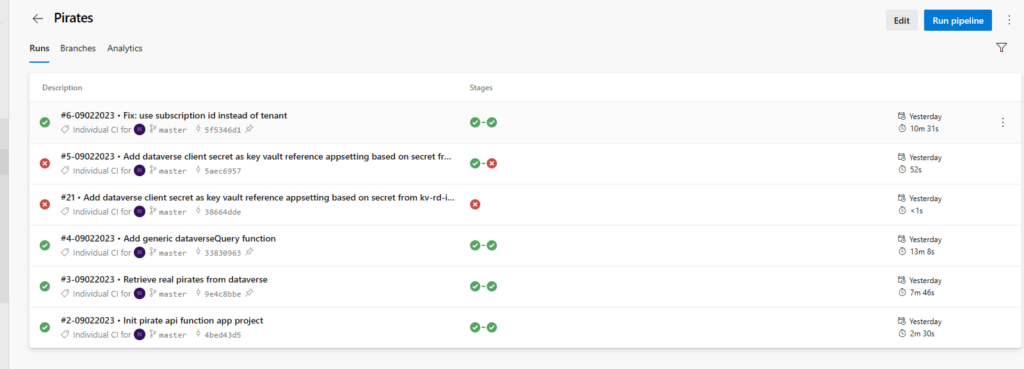
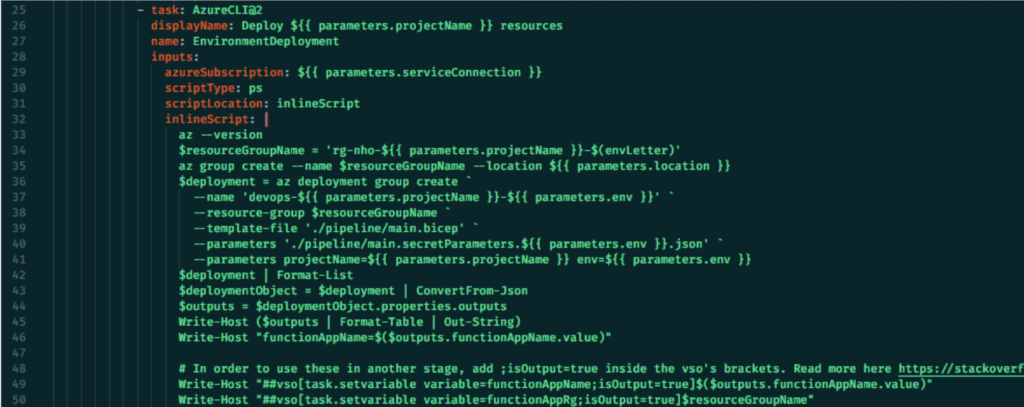
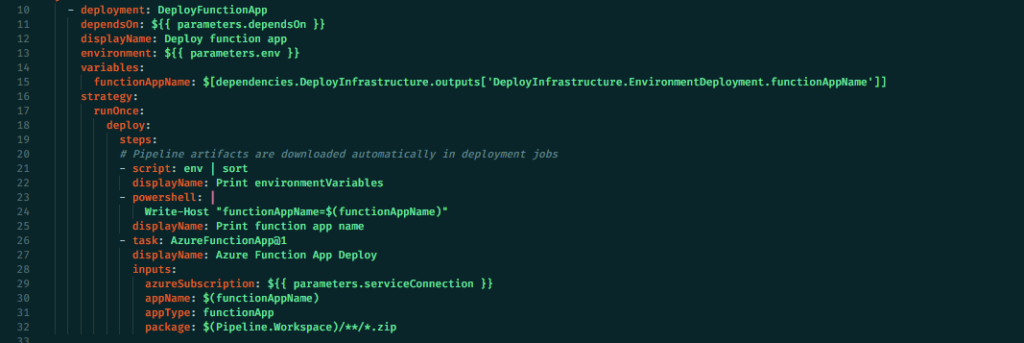
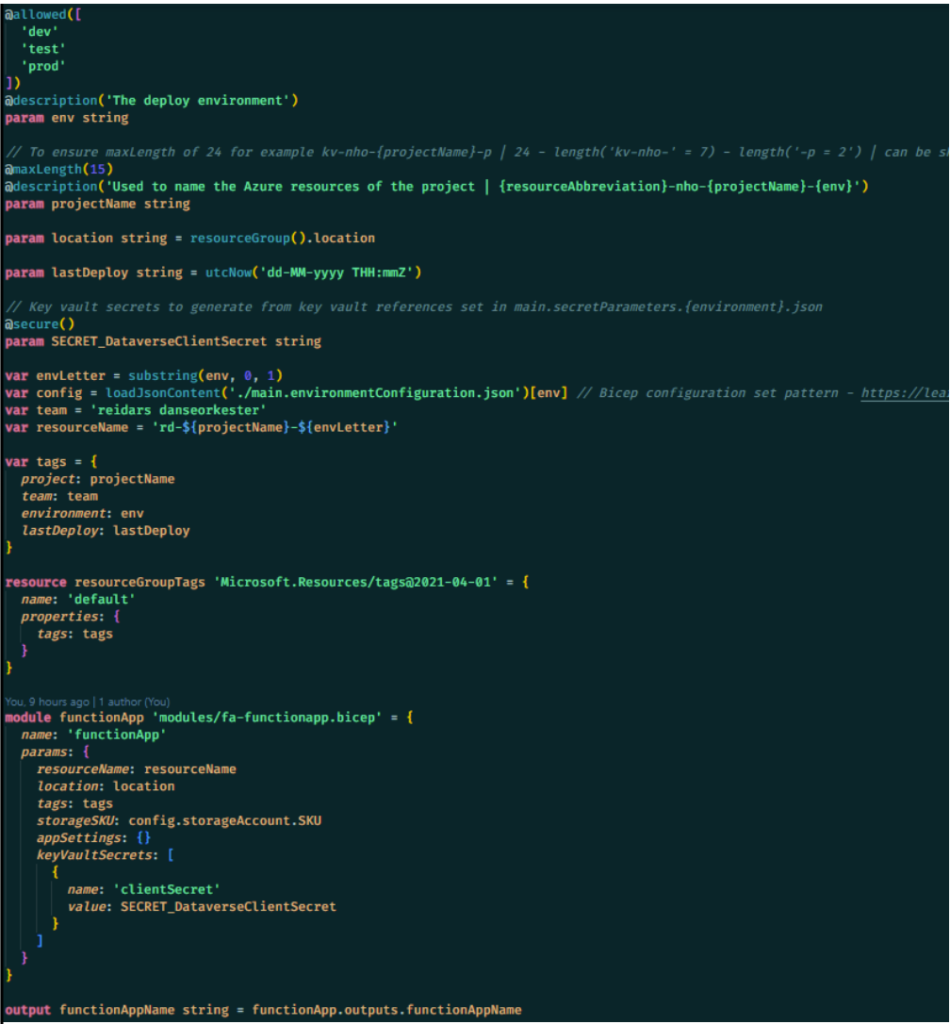
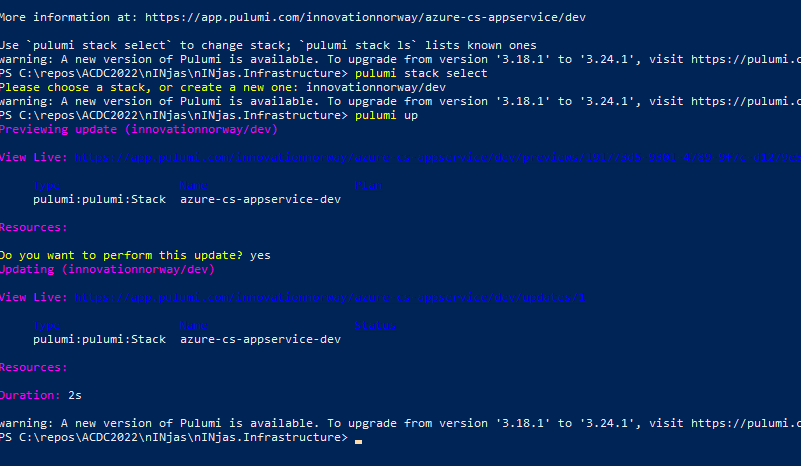
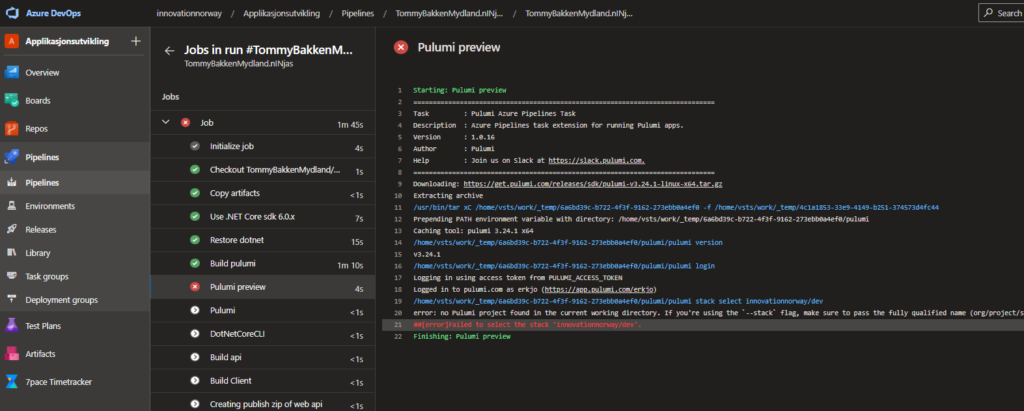
Reproducible deployment
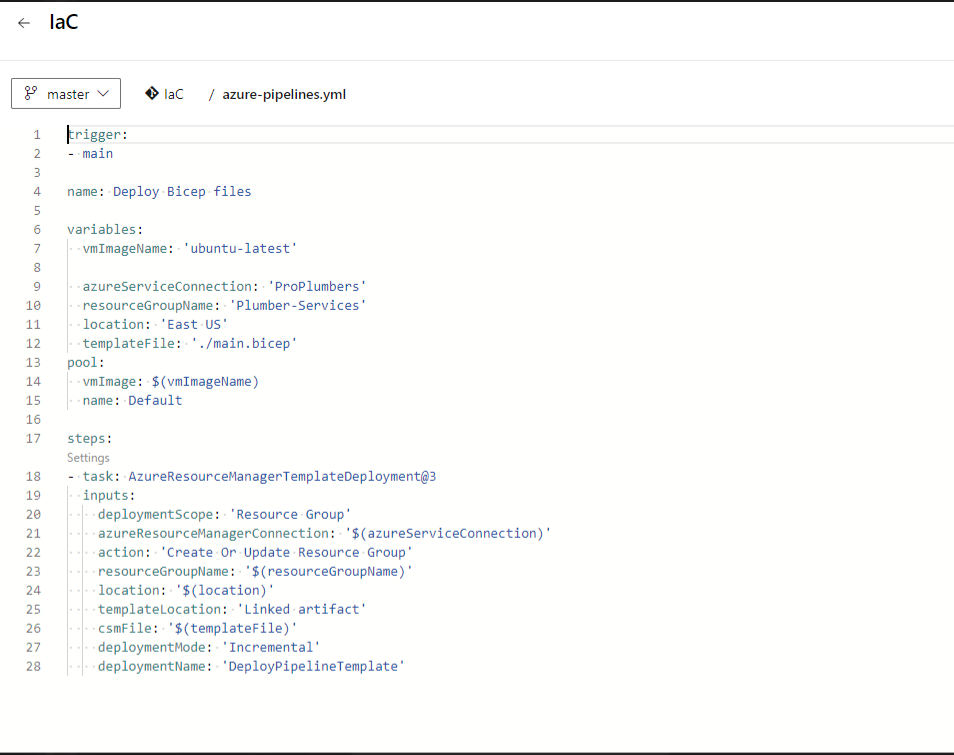
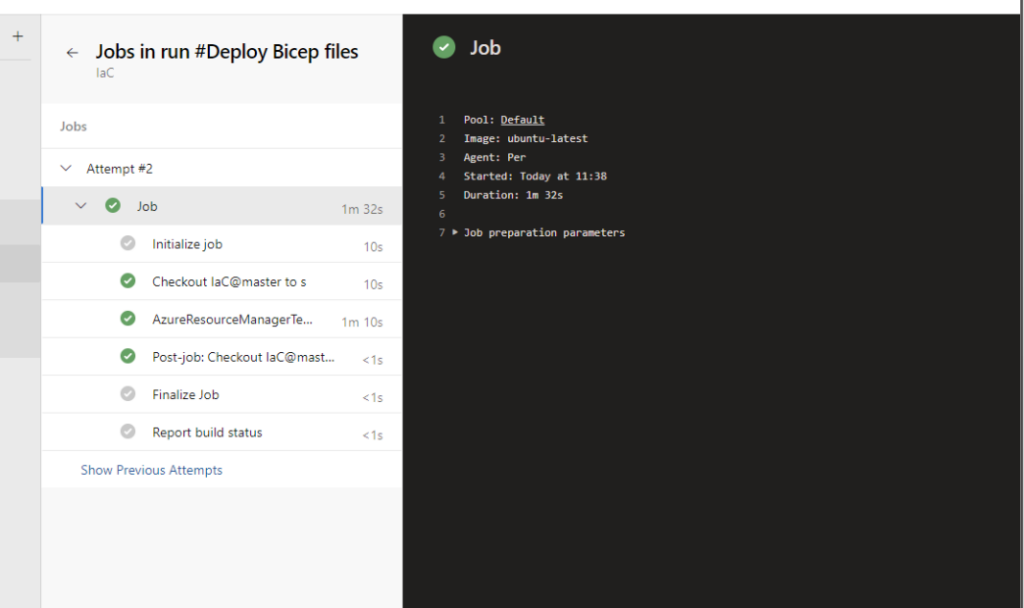
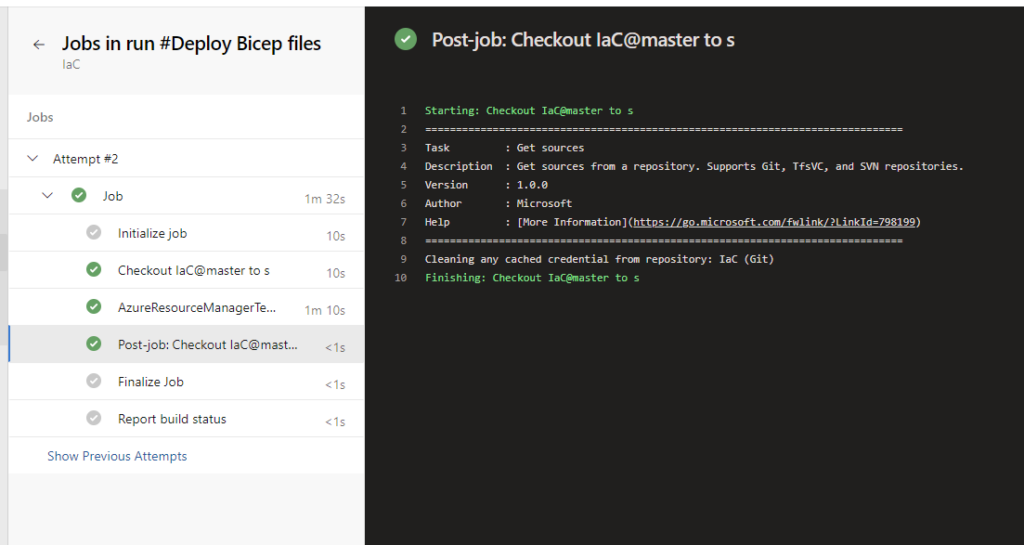
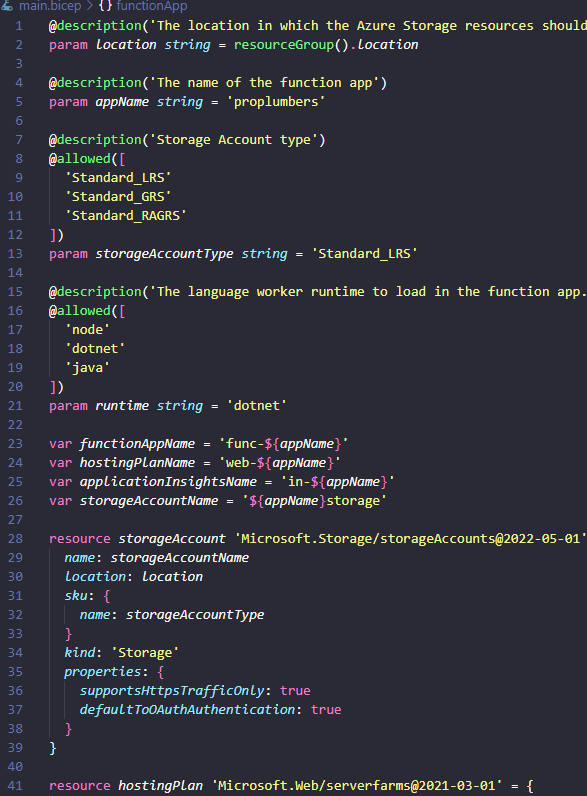
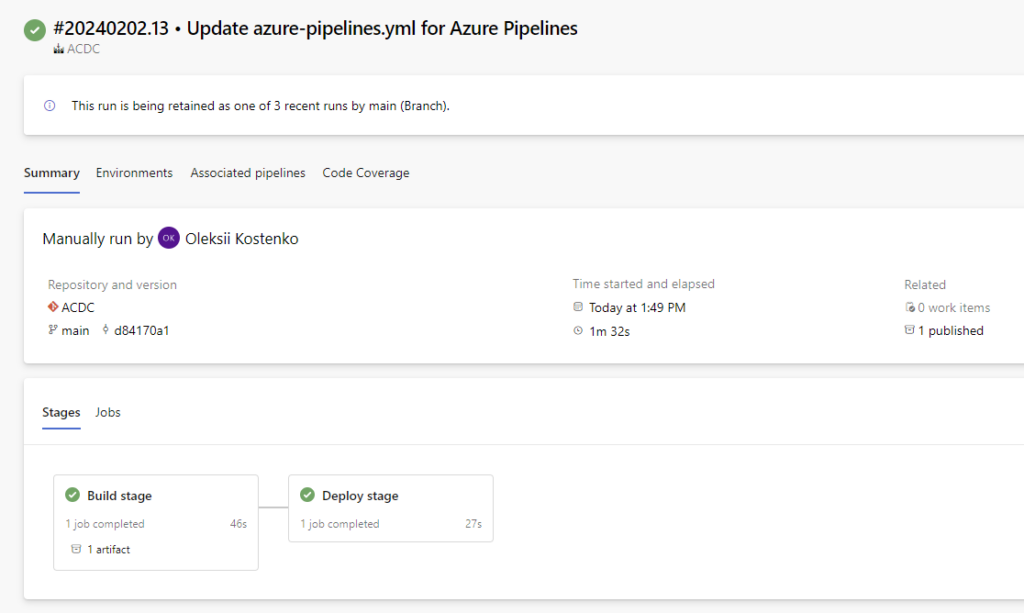
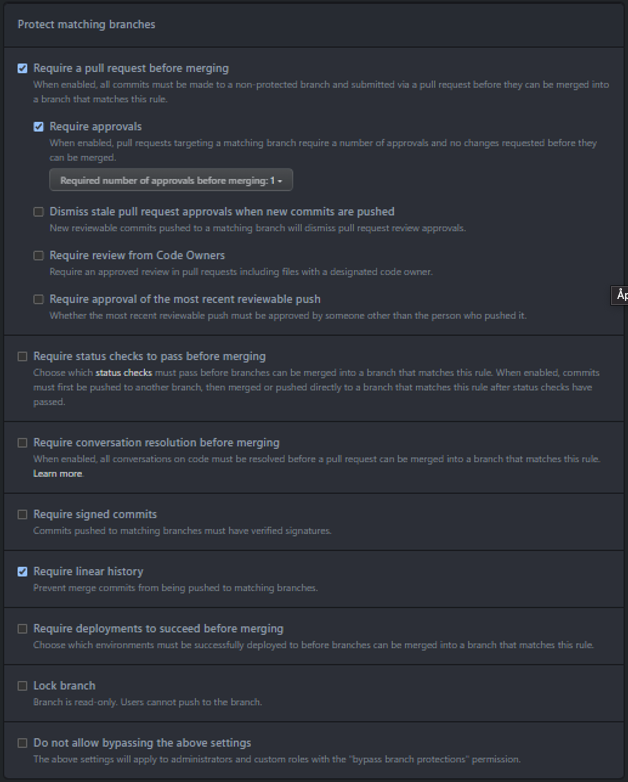
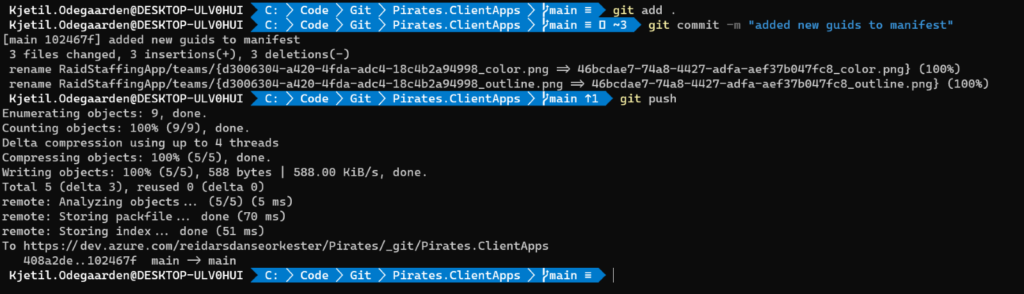
Although we are nasty hackers, we are reproducible hackers. As these were the only Azure resources used (directly), we deployed them using bicep and the Azure CLI. Sensitive variables are marked as secure and not included in the scripts, but parameterised.
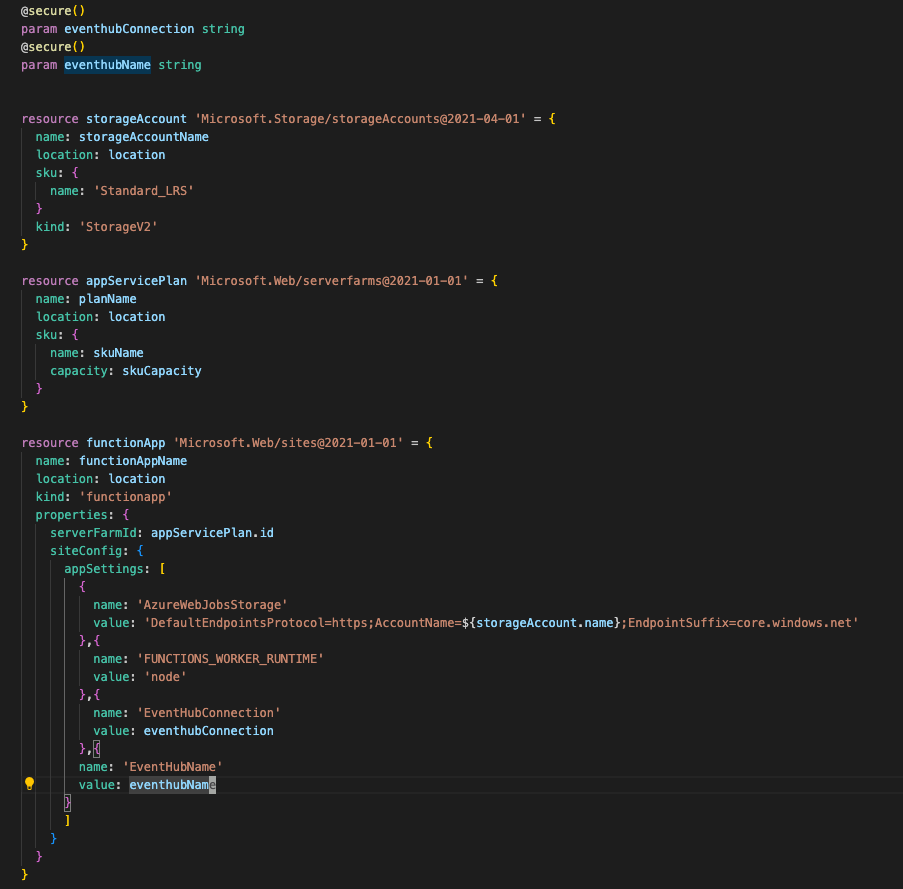
So if you want to do it hacky, at least make it traceable.